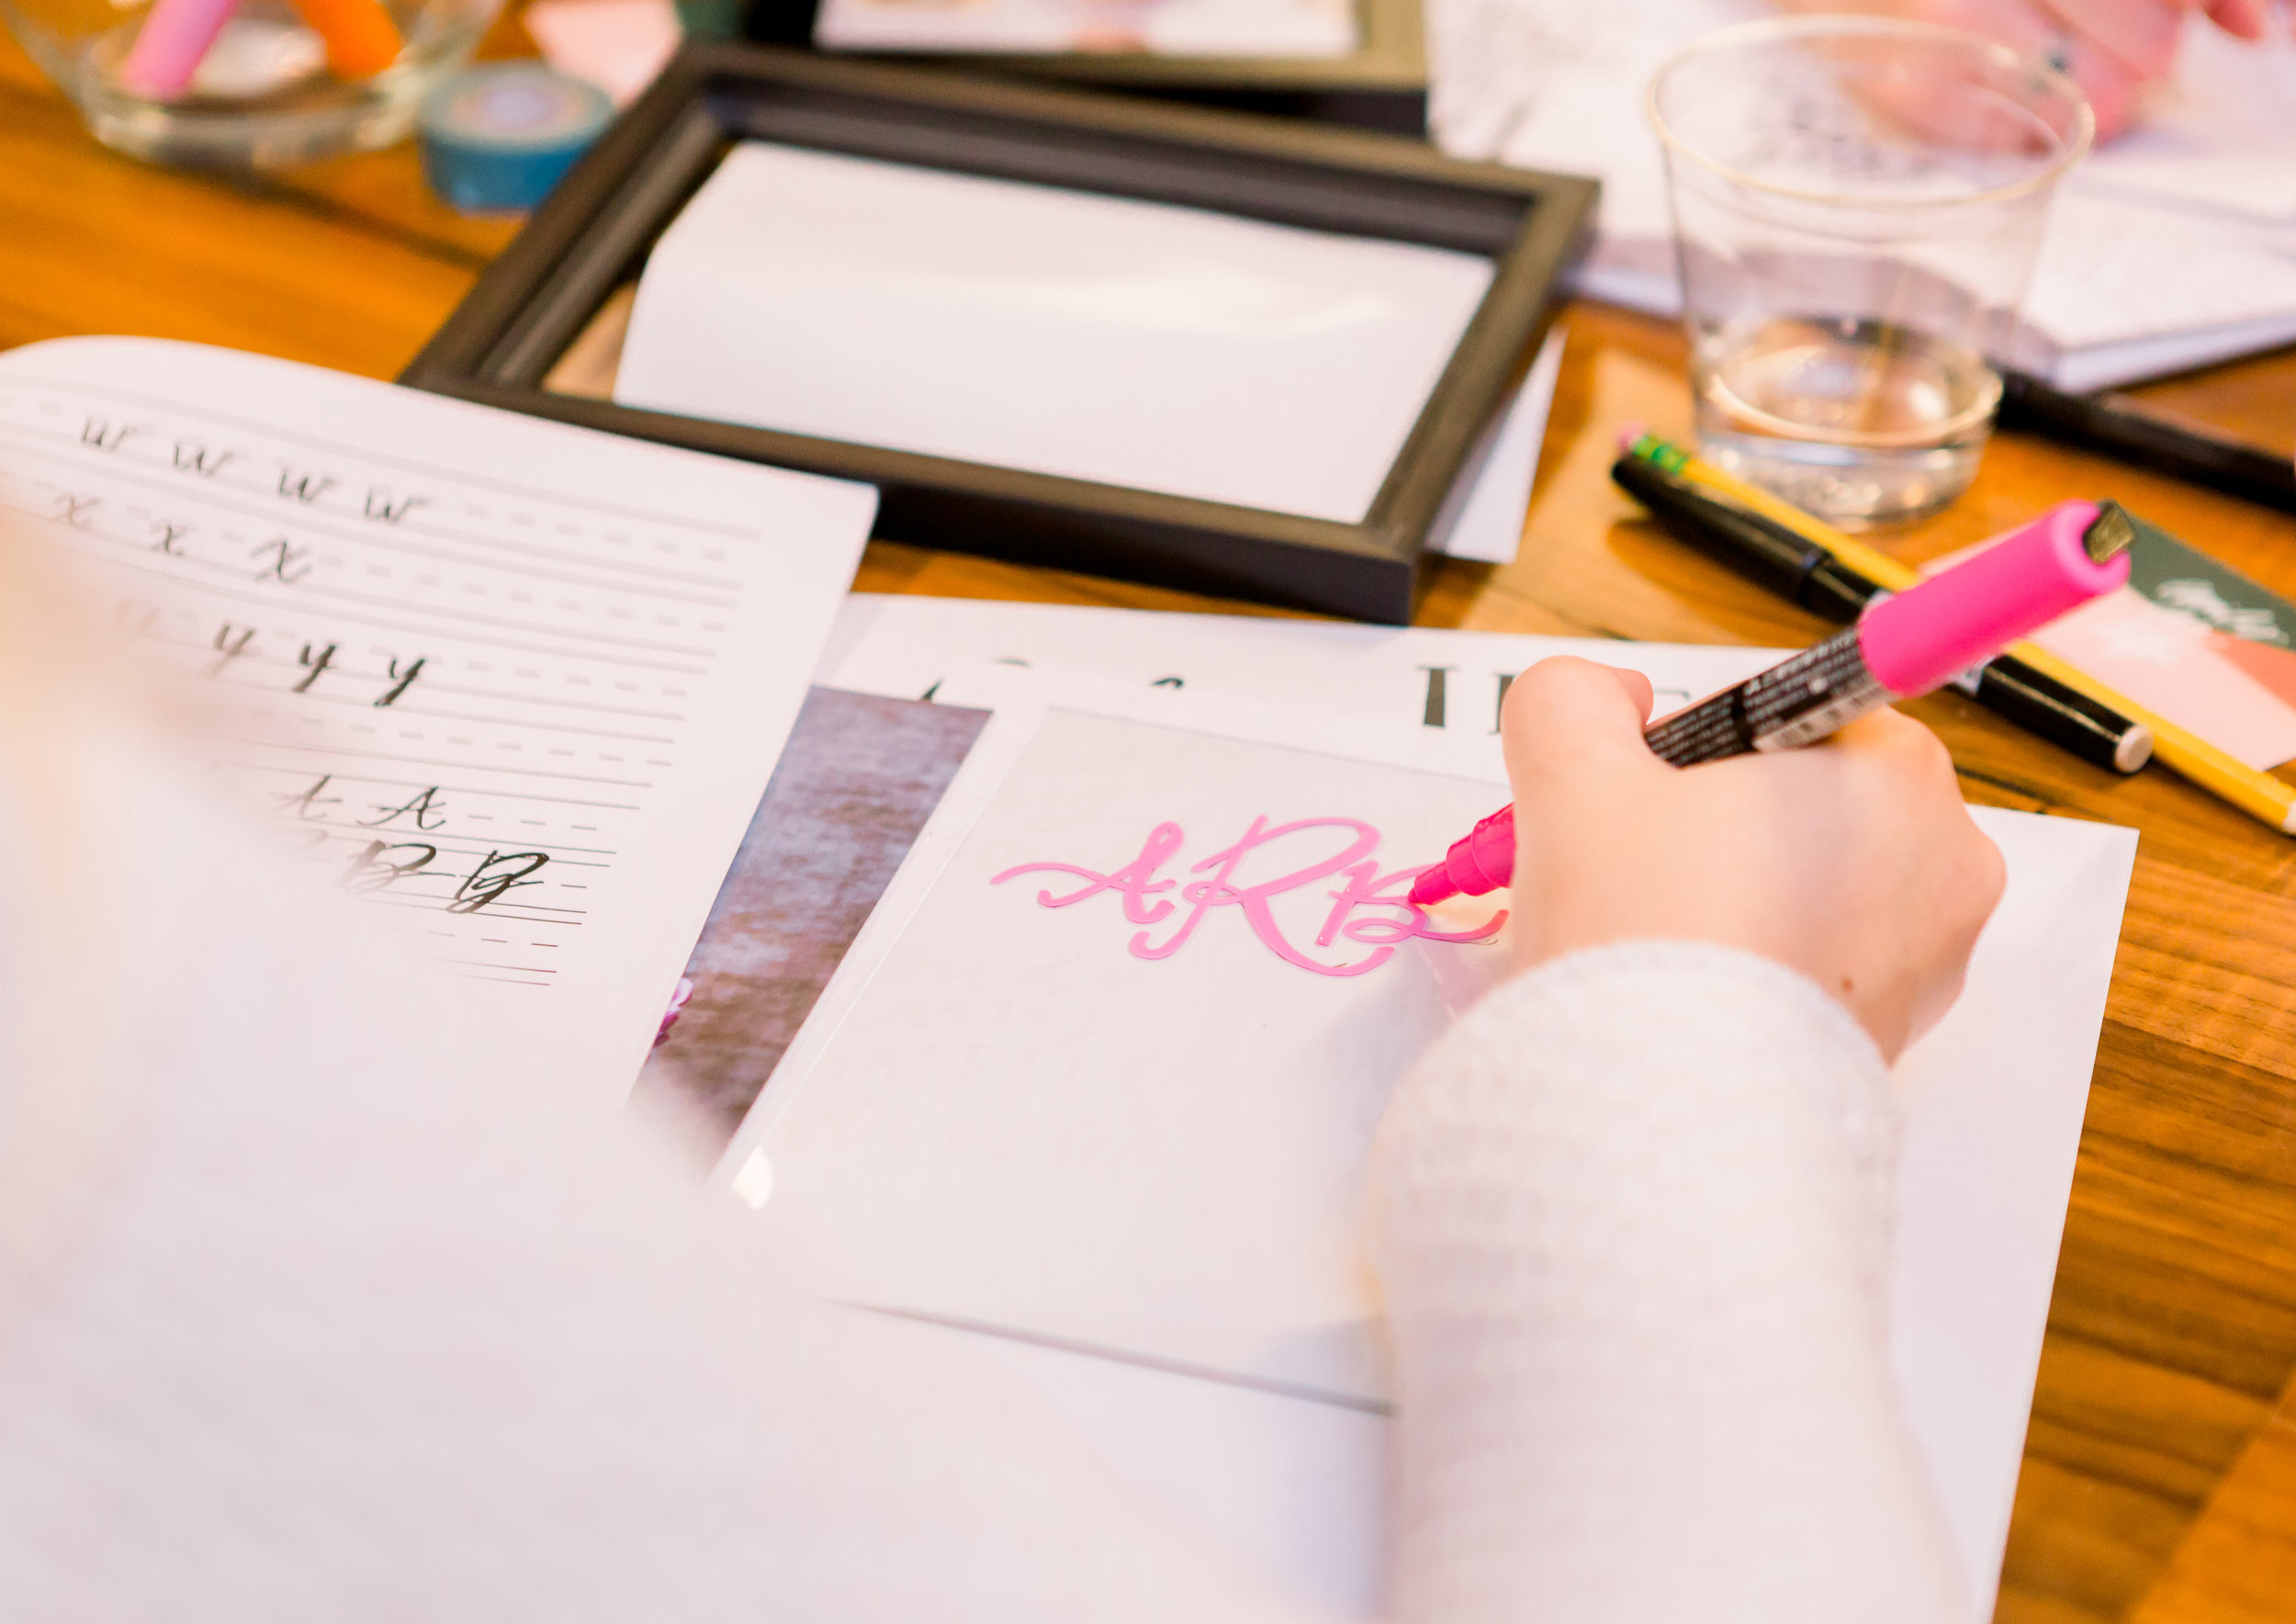
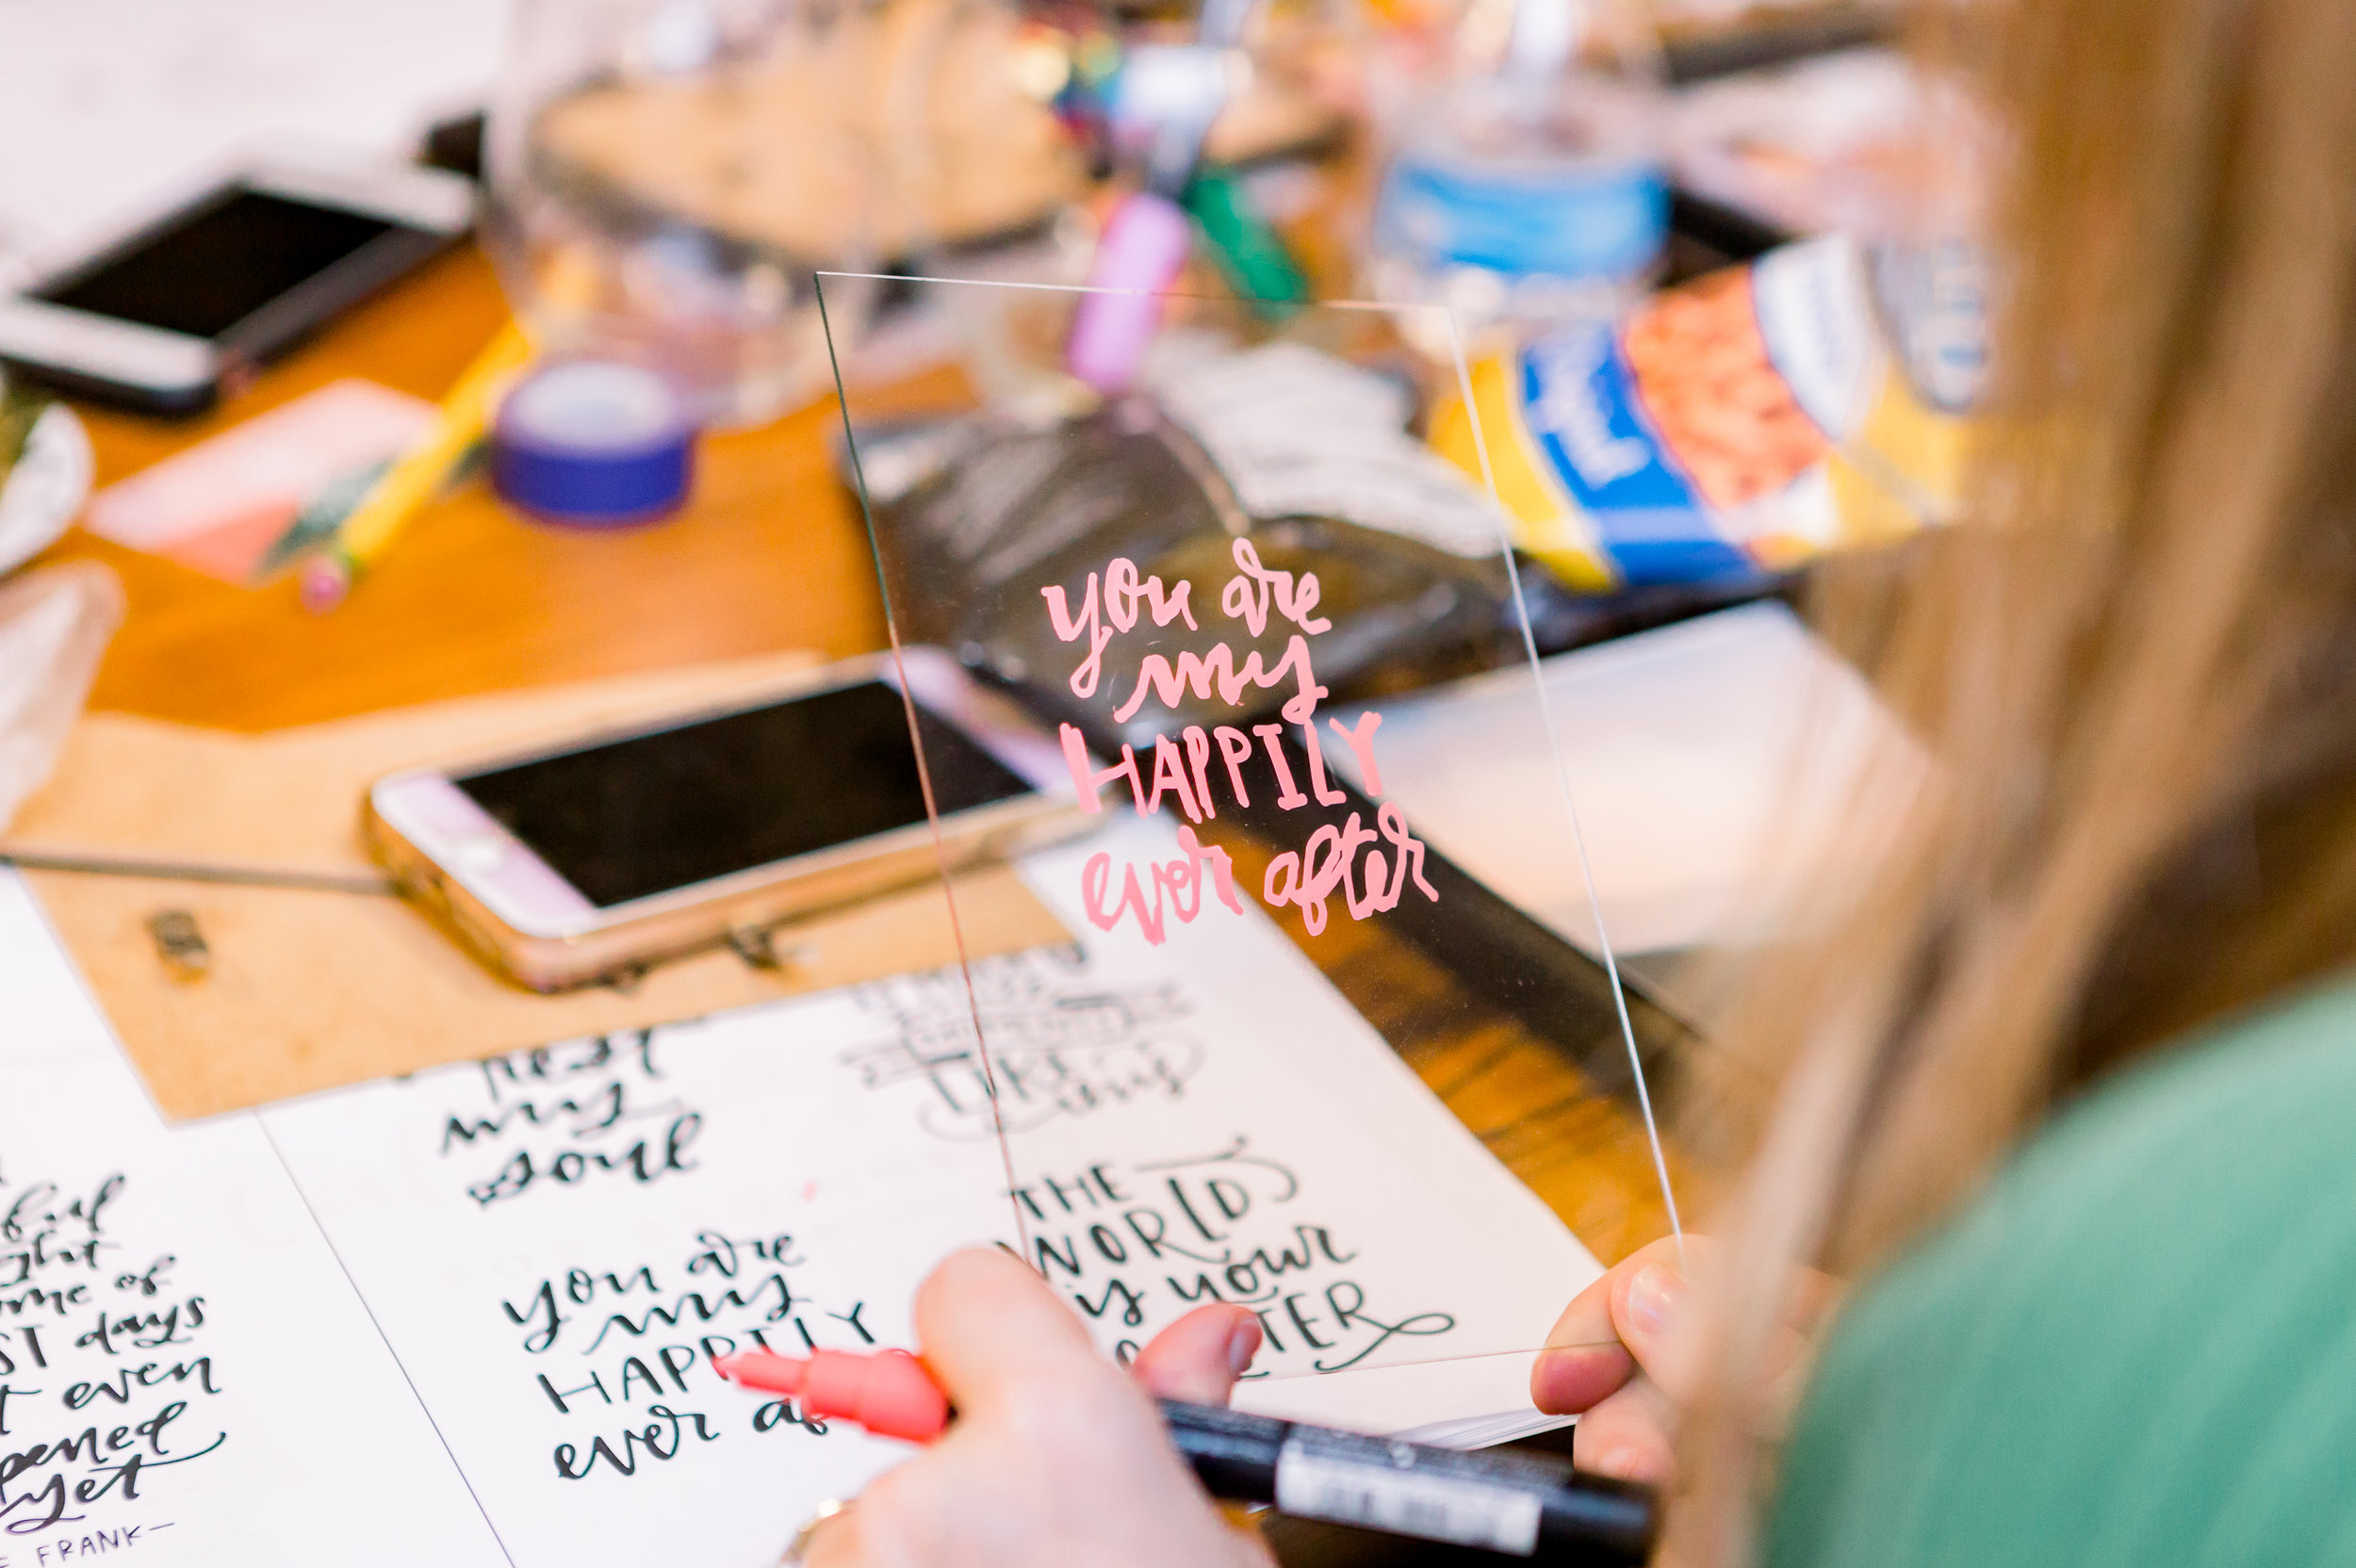
Our hand lettering workshops are always really popular. It’s a skill you can use in so many different ways. Whether you’re lettering a glass frame or learning to address envelopes, there are so many creatives ways to incorporate hand lettering to elevate a gift or piece of home decor.
Here are a few tips for hand lettering envelopes to help you on project:
PRACTICE! This one may seem obvious, but take plenty of practice before starting on the real thing. Here are some free downloadable practice sheets you can use!
Use a pencil to create a “grid” to help you keep your lines + letters straight. You can erase the grid after your ink has dried.
There are 3 types of strokes: up stroke, down stroke + cross strokes. Down strokes are the only ones that use a thicker line, so you’ll press down harder on your pen creating a thicker line. You can also go back over your down strokes to shade them in more.
If your letter has nothing but down strokes (for example, the letter K), how do you know which part to thicken/shade? Choose the “constant” part of the letter, or the base.
If you’re a lefty, hand lettering can be a little tricky! Here’s a Youtube video to help all the lefties out there.


